Container Guide
Intro to the blendOS container manager
Learn how to manage containers with this guide!
The blendOS container manager, located in the blendOS Settings app, is how you manage containers on blendOS.
Using the container manager
To start, you will see something like this:
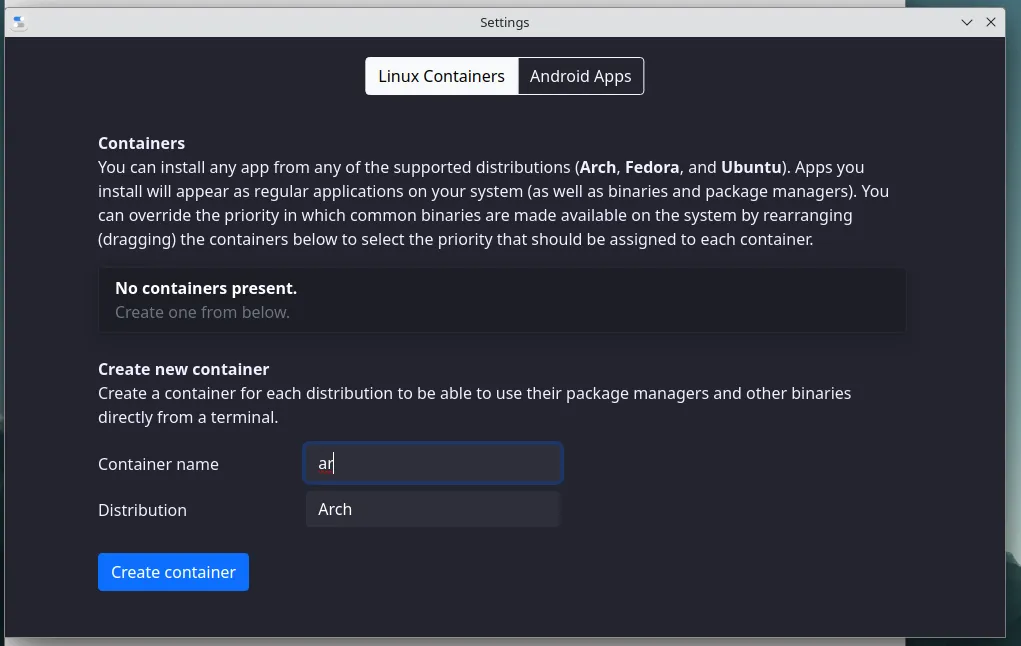
Set the container distro and name in the boxes below and hit Create Container.
Then, you’ll see some creation logs like this:
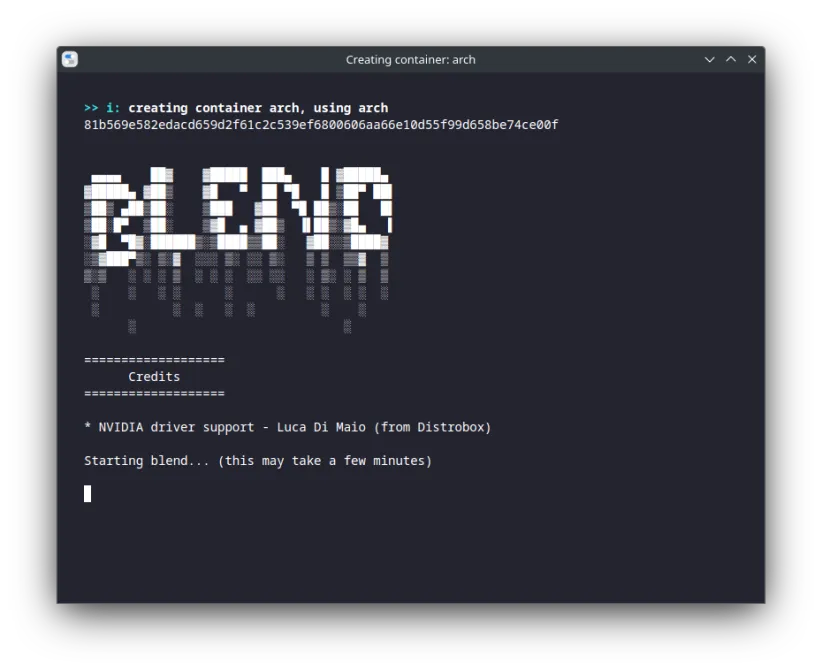
Once the logs go away, you should see something like this (but with the container you made):
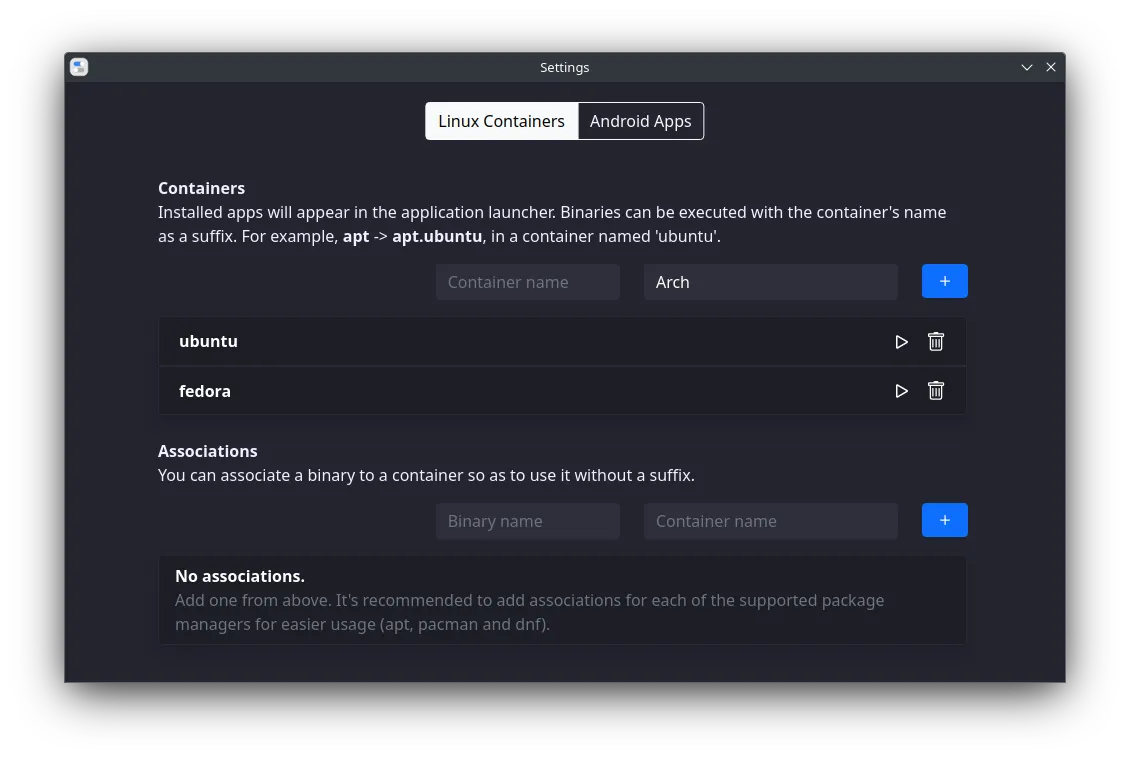
On the top are your containers, which act as a sort of distro in a distro. From here you can start, reorder (more on that later), or delete them.

You can also make a new container from here, if you want to.
Binary associations
On the bottom, you’ll notice you can make binary associations. These allow you to turn container binaries into normal (suffixless) binaries. (ex. apt.ubuntu -> apt)

In blendOS, binaries are automatically made available on the host in the format:
(BINARY_NAME).(CONTAINER_NAME)
(ex. apt.ubuntu)
If you want to get rid of the suffix, we can use binary assosciations to make our lives easier. For our example, you can assocate apt to the Ubuntu container, and dnf to the Fedora container.
To use these, put the binary name in the first box (ex. apt) and the container name in the second (ex. ubuntu).

You can now run apt from the terminal by just typing apt instead of apt.ubuntu!

Android apps (WayDroid)
You can install Android apps by switching to the ‘Android apps’ tab, and clicking on Initialize.
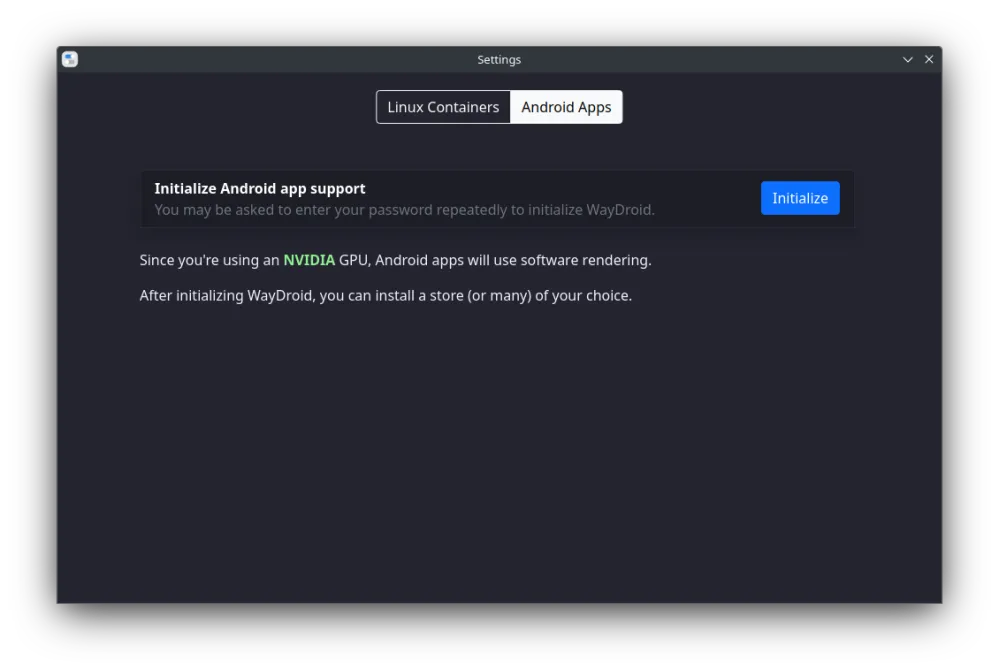
After it initalizes (and you enter your password two-three times), you should see this. Once you do, reboot:
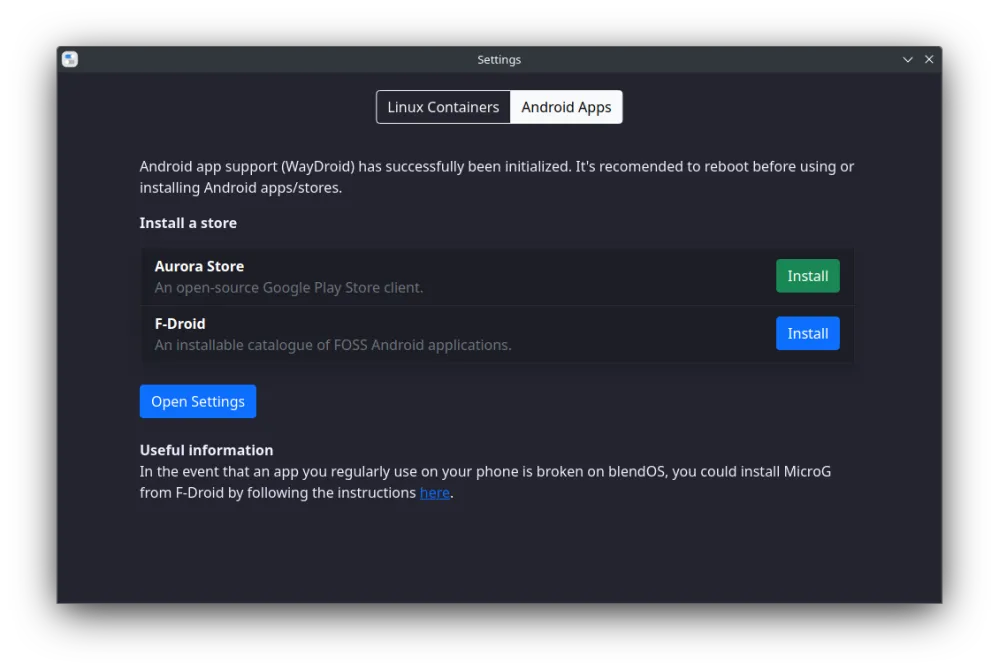
Aurora Store setup
Click the Initialize button next to Aurora Store in the Android apps tab.
